
Outdoor Kitchen Design in Colorado Springs, CO: The Decisions Made Before Construction Starts
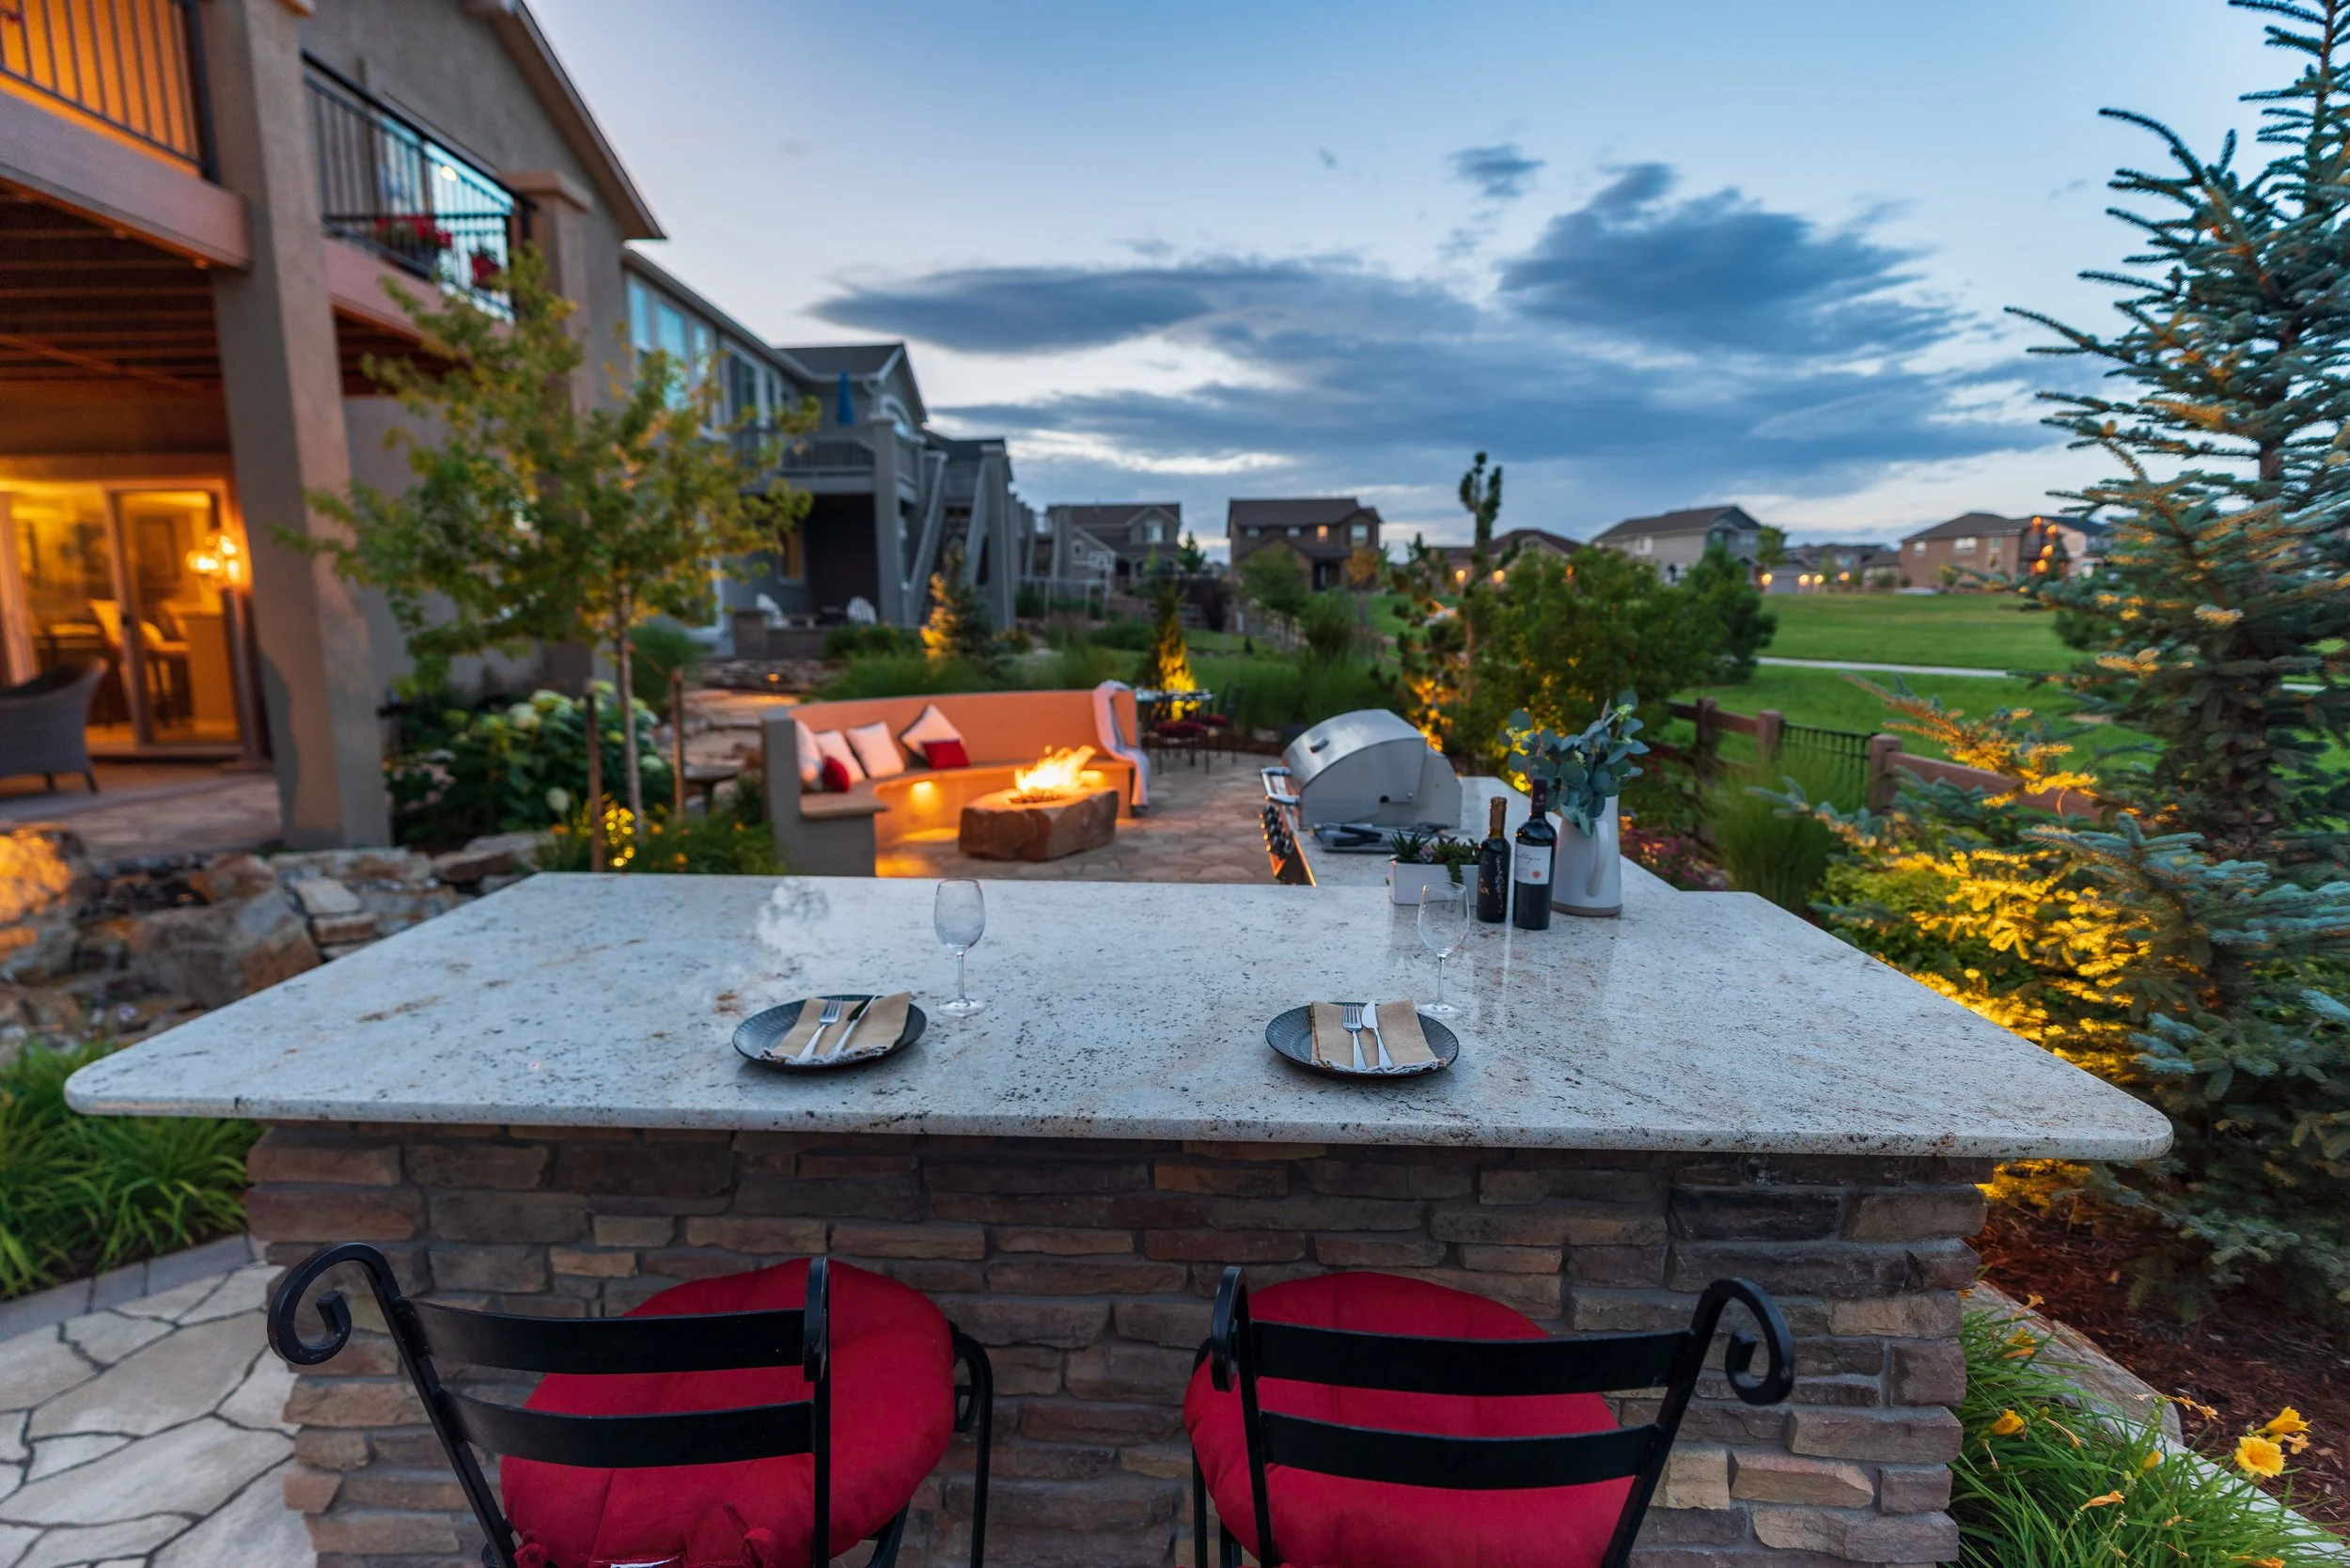
Outdoor kitchen design in Colorado Springs, CO, is won or lost on paper. The costly mistakes in this kind of project are rarely construction errors. They are decisions about position, utility routes and materials that were settled too quickly and then locked in place by concrete, which is why our design team treats those early choices as the real work.
Hiner Outdoor Living has been bringing Coloradans outside since 2008. The kitchens we design across the Front Range begin with a site walk rather than a product list, because wind direction, sun angle, the path from the back door and the position of the gas meter all shape the plan.
Each of those items costs nothing to change while the drawing is open, and each becomes expensive once a trench is cut.
Where Should an Outdoor Kitchen Sit Relative to the House and the Wind?
An outdoor kitchen should sit close enough to the back door for an easy walk, a few feet off the house wall and on the downwind side of the seating. Position is the first decision and the hardest one to reverse.
A kitchen set too far from the house turns every forgotten utensil into a long walk, while one pressed tight against the back wall traps heat and smoke under the eaves. Our designers measure the distance to the interior kitchen, the route guests take to reach a seat and the clearance between a grill and any combustible surface above it.
Related: Host Gourmet BBQs and Family Feasts With a Stunning Outdoor Kitchen in Castle Rock, CO
Setting the Outdoor Kitchen Distance From the Back Door
The distance from the back door should be short enough that plates, ice, serving dishes and forgotten seasoning make the trip without a second thought. Twenty extra feet changes the behavior of the whole space. We look at door swings, step heights and the grade between the threshold and the finished patio, because a single awkward stair discourages people more than any design flaw.
Proximity has a limit in the other direction as well. Placing a cooking appliance directly against the house pushes grease and heat onto siding and stucco, and it puts the cook inside the traffic lane between the door and the seating. A short setback of a few feet often solves both problems at once.
Reading Wind and Sun for an Outdoor Kitchen on the Front Range
Front Range wind and sun should decide which way an outdoor kitchen faces. Downslope gusts arrive out of the west and northwest for much of the year, and they carry grill smoke, ash and heat in a predictable direction.
Setting the cooking zone on the downwind side of the seating area keeps smoke off the people sitting there, and those same gusts decide where a side panel, a screen wall or a windbreak planting earns its place.
Sun angle matters just as much at this elevation. A west-facing counter takes direct late-afternoon sun through July, which makes a dark stone top uncomfortable to touch and shortens the life of any polymer mounted nearby. Rotating a counter run a quarter turn during design costs nothing and changes how often the space actually gets used.
What Does the Work Triangle Look Like in an Outdoor Kitchen?
In an outdoor kitchen, the work triangle anchors on the grill, with cold storage, the sink and open landing counter arranged around it. Indoor kitchens are planned around a triangle linking cold storage, sink and range, and the same logic applies outside with the grill taking the range's place.
We plan for at least 15 to 18 inches of open counter beside a grill so hot pans and loaded platters have somewhere to land.
Zoning Outdoor Kitchen Counter Runs
Counter zoning is the practical version of that triangle. A cold zone holds the refrigerator and the main prep surface, a hot zone holds the grill and any side burner, and a wet zone holds the sink and the waste drawer. Keeping those zones in a deliberate order shortens the number of steps a cook takes and stops two people from working in the same square foot.
Dimensions get settled at this stage too. A working counter sits near 36 inches high, a raised bar closer to 42, and any run with seating needs 12 to 15 inches of overhang for knees. Where an island faces a back counter, we hold 42 to 48 inches of aisle so someone can pass behind a cook without turning sideways.
Counter length is a budget decision disguised as a layout decision. Every additional linear foot carries masonry, veneer, stone and labor, so we size the runs around the equipment list and the number of people who will realistically work in the space. Drawing it to scale prevents both a cramped island and a counter that sits empty.
What Has to Be Decided Before an Outdoor Kitchen Utility Trench Is Dug?
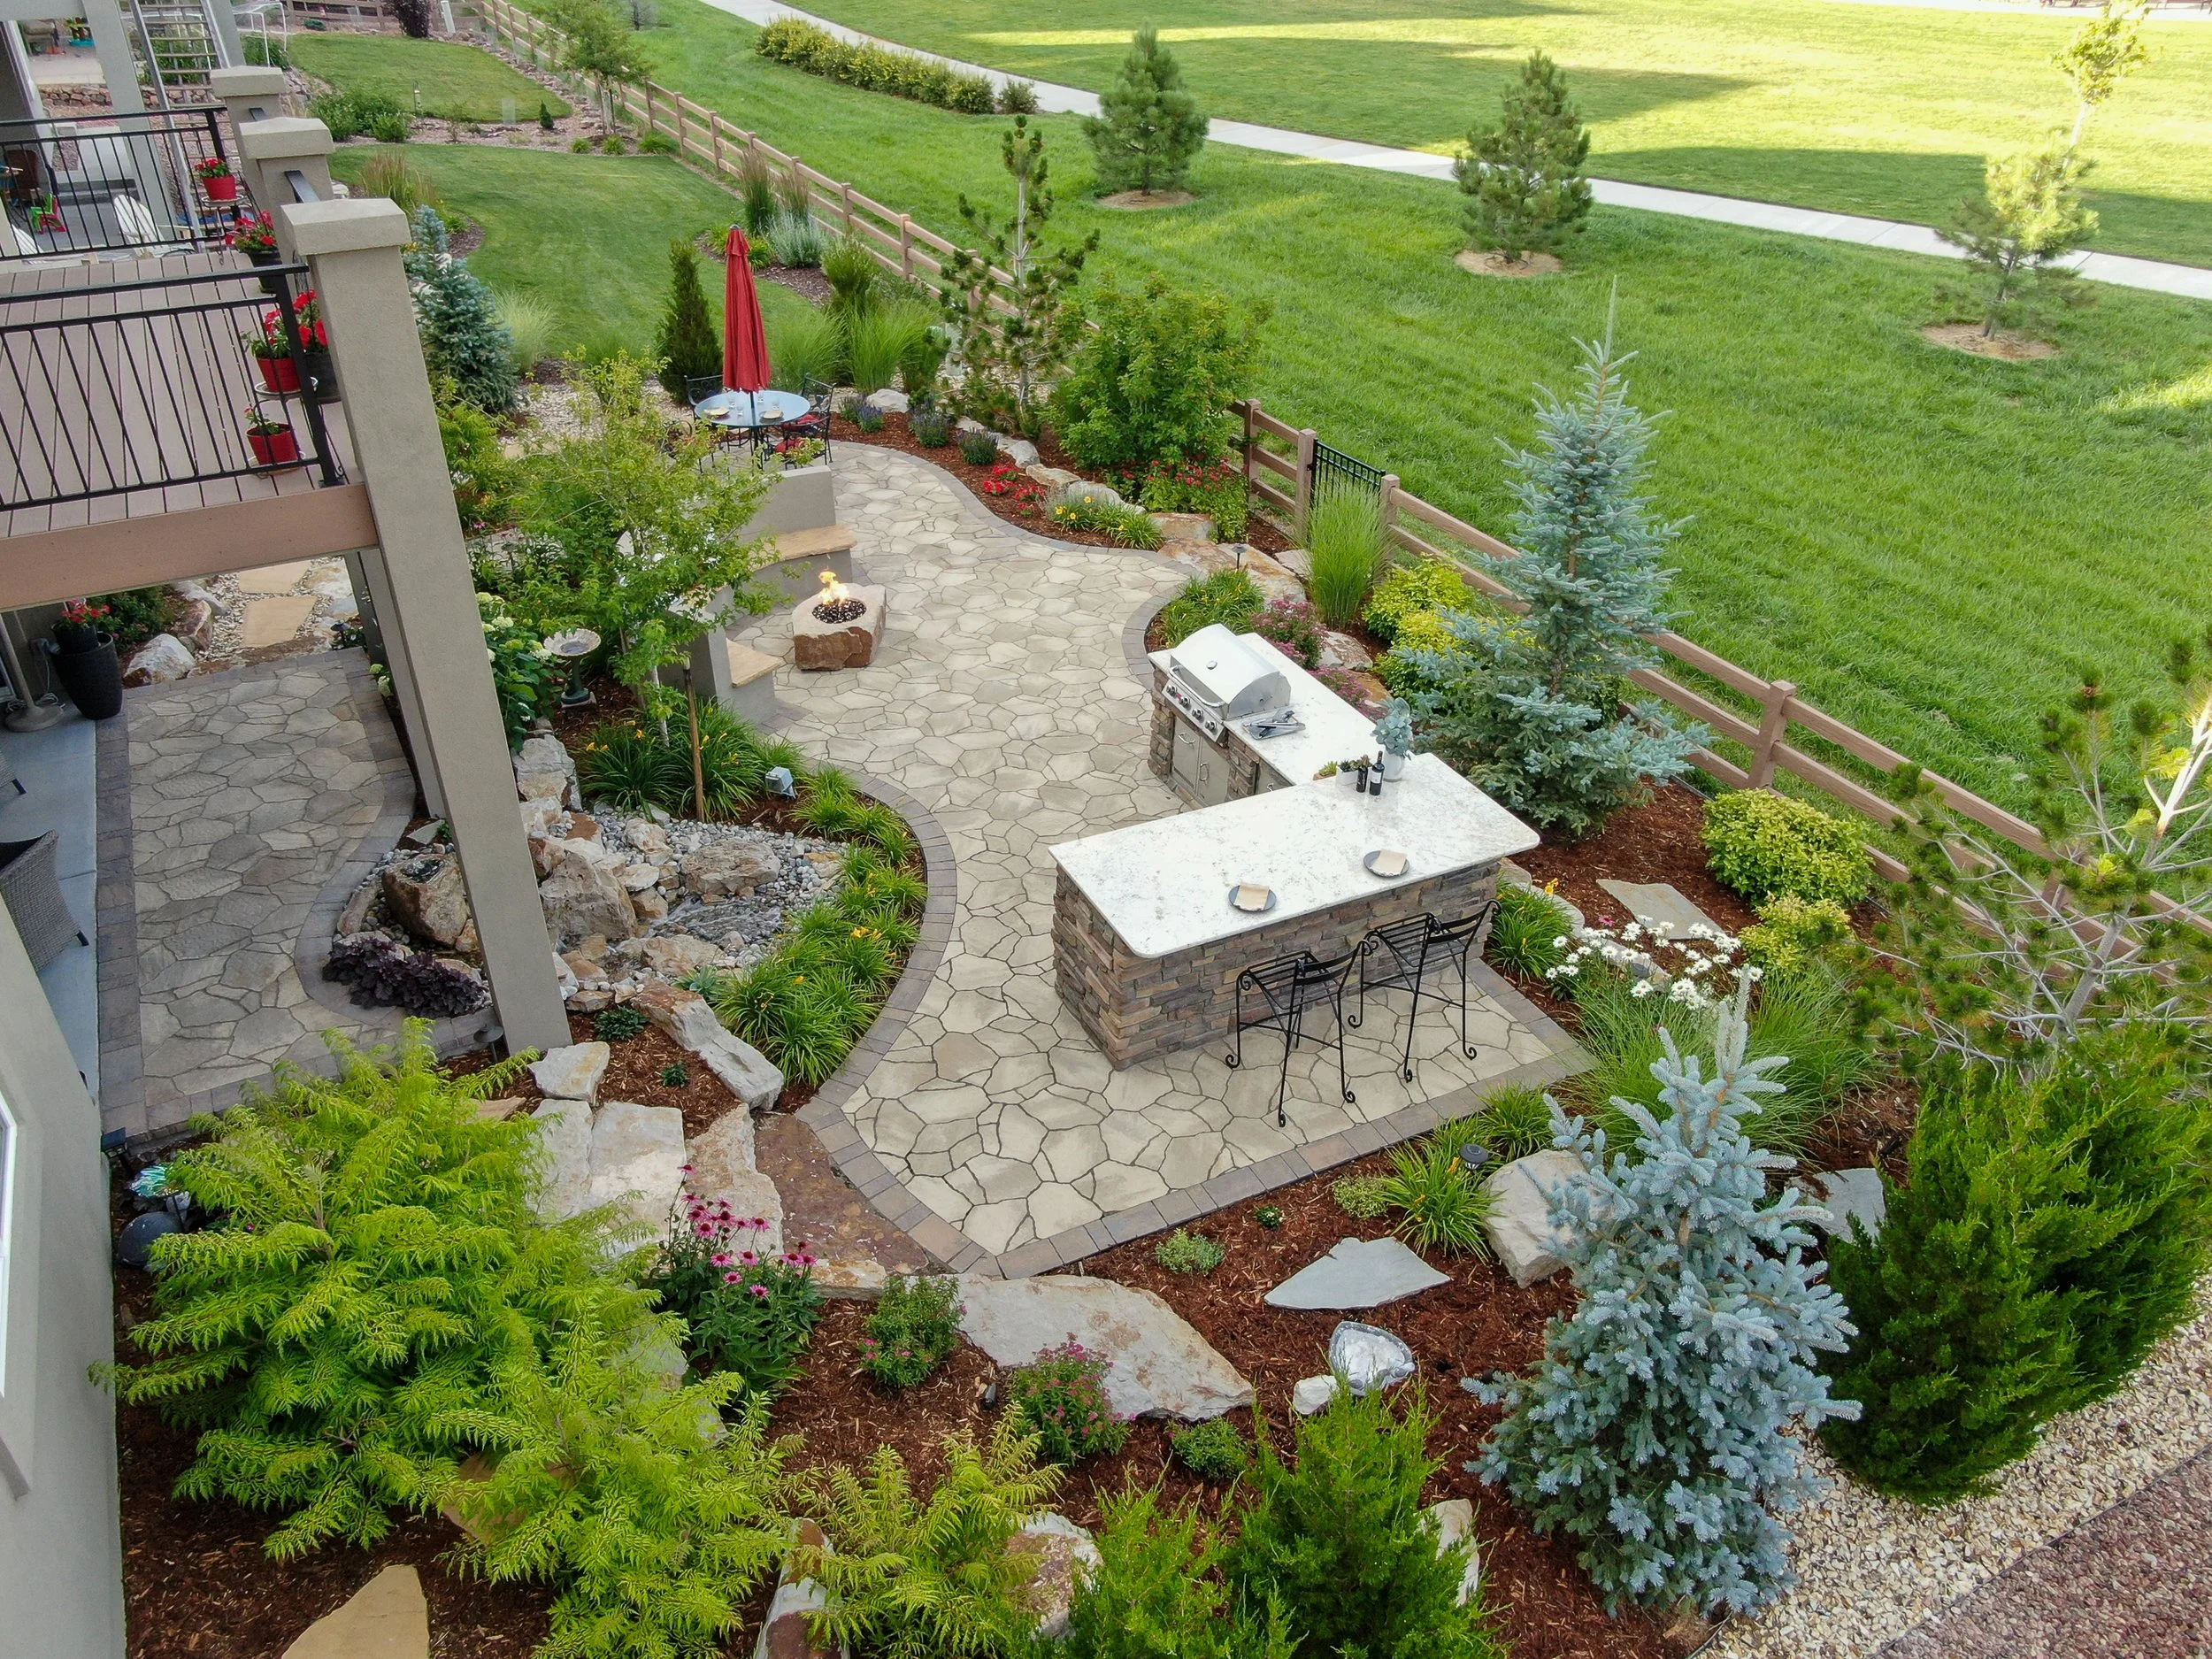
Gas, water and power all run underground, and all three have to be resolved before the first trench opens. Utility routing is the single most common source of change orders in this kind of project, and almost all of it traces back to a decision deferred during design.
Related: Colorado Springs, CO: Gourmet Outdoor Kitchen Meets Serene Water Fountain for Epic Home Entertaining
Gas Load and Line Sizing
The gas decision starts with total demand. A grill, a side burner, a pizza oven and a fire feature add up quickly, and both the line size and the run length back to the meter follow from that number. Undersizing the line shows up later as a grill that will not hold temperature once several burners are open.
Fuel choice belongs in design as well. Natural gas requires a line and a meter with capacity to spare, while propane requires a tank bay, access for refills and a cabinet detail that vents properly. Changing that decision after the island is framed usually means opening it again.
Water, Drainage and Winterizing
Water brings the winterizing question with it. A sink needs supply, drainage and a reliable way to be emptied before the first hard freeze, which generally means an accessible shutoff and a line sloped so it can drain down. Some clients choose a cold-water sink draining to a dry well, while others tie into the house waste line, and that single choice redraws the trench route.
Power, Lighting and Future Conduit
Power is the quiet one. Outdoor refrigerators and ice makers want dedicated GFCI-protected circuits, task lighting and low-voltage fixtures need their own runs, and a future heater or screen costs far less as an empty conduit installed now. We also mark where sleeves cross beneath the patio so nobody saws through finished paving three years from today.
Permitting sits alongside all of this. Gas and electrical work typically requires permits and inspections, and a solid roof structure brings its own review, so we confirm those requirements before the drawing is finalized rather than after a crew is mobilized.
How Do Appliance Choices Set Outdoor Kitchen Cabinet Dimensions?
Appliance choices set the cabinet dimensions because each built-in unit carries a published cutout width, depth and height, and the cabinet gets built to that opening rather than the other way around. Appliances are not accessories selected at the end of a project. Swapping a 32-inch grill for a 42-inch model after framing means rebuilding the island, not sliding a larger box into place.
Each unit also brings its own requirements. A built-in grill inside a masonry enclosure needs ventilation panels so gas cannot collect in the cavity, a refrigerator needs an outdoor-rated compressor and clear airflow at the front, and a pizza oven needs a footing sized for its weight. The built-in outdoor kitchens we construct are laid out around those published specifications from day one.
Storage gets decided alongside the equipment. Access doors, drawer stacks, a trash pull-out and a propane bay each consume cabinet width, and the total width sets how long the island has to be. Listing the full equipment package during design is what keeps an island proportional to the patio it sits on.
Ventilation and clearance round out the list. Appliance manufacturers publish minimum distances to combustible materials, and those numbers govern the depth of an overhang, the height of a ceiling and the material used directly behind a grill. Reading them during design avoids a rebuild during inspection.
Which Outdoor Kitchen Materials Survive Front Range Freeze and Thaw?
Dense granite, full-body porcelain, stainless components and solid masonry survive Front Range freeze and thaw best. Repeated freezing and thawing is the material test that matters most here. Water moves into a porous surface, freezes overnight, expands and works the material apart across dozens of cycles, and this region delivers plenty of those cycles between October and May.
Outdoor Kitchen Counter Surfaces
Dense granite and full-body porcelain slabs absorb very little water, which is why they hold their edge on an exposed counter. Softer stones and unsealed concrete take on more moisture and show it sooner at joints and edges. Color matters too, since a dark surface in full sun at this elevation gets genuinely hot to the touch by mid-afternoon.
Outdoor Kitchen Cabinet Structure and Finishes
Ultraviolet exposure is the second test. Thinner air at roughly 6,000 feet means stronger UV, and it degrades plastics, low-grade sealers, powder-coated finishes and inexpensive door hardware faster than the same products fail nearer sea level. Stainless components, solid masonry and factory-finished materials carry that load better across a decade of seasons.
The structure beneath the finish deserves equal attention. Footings placed below frost depth keep an island from heaving, a drainage path inside the cabinet cavity stops water collecting where it can freeze, and a proper cap detail keeps water from entering at the top of a veneer. These belong on the drawings, not in field improvisation.
How Much Shade and Shelter Should an Outdoor Kitchen Plan Include?
An outdoor kitchen plan in Colorado Springs should include shade over the west side of the counter at minimum, with the type of overhead structure chosen for the seasons the space will be used.
A pergola filters light, a louvered roof sheds rain on demand, and a solid roof makes the space usable during a spring snow, yet each one carries a different footing, post layout and load requirement. Posts also compete with counter runs, so the structure and the cabinetry get drawn at the same time.
Anything solid above a cooking appliance raises clearance and ventilation questions immediately. Published minimum distances between a grill and a combustible ceiling govern ceiling height, material choice and any required hood. Snow load and wind uplift then set the framing size and the anchoring detail.
Shade placement follows the sun rather than the symmetry of a plan. Cover over the west side of a counter matters far more in Colorado Springs than cover over the north side, because late-day sun is what drives people back indoors. We study that during design instead of guessing on site.
How Should an Outdoor Kitchen Connect to Seating and the Rest of the Yard?
An outdoor kitchen should connect to seating through clear sightlines and circulation routes that never cross the hot zone. A kitchen standing alone gets used less than one wired into the rest of the yard. A cook facing a wall misses the conversation, while a bar oriented toward a fire feature or a water feature keeps everyone in one space.
Seating capacity belongs on paper before anything is poured. A table for eight needs a patio dimension that accommodates pulled-out chairs, and bar stools need clear floor behind them for someone to walk past.
The kitchen is one element inside a larger plan, and our landscape design work sets how grading, drainage, planting and hardscape carry it.
Lighting the Outdoor Kitchen Work Surface
Lighting is a design decision rather than an accessory purchase. Task light at the grill and prep counter lets a cook read doneness after sunset, low-level light along steps and edges keeps circulation safe, and a warmer color temperature keeps the space comfortable.
Circuits, switch locations and fixture positions all get placed on the plan with the rest of the electrical.
Phasing an Outdoor Kitchen Build
Phasing is a legitimate design outcome, not a compromise. Where a full build has to wait, we stub gas, water and electrical sleeves during the patio phase so a kitchen can be added later without cutting finished surfaces. That decision costs very little today and removes a demolition line item from a future proposal.
Start Outdoor Kitchen Design in Colorado Springs, CO
Hiner Outdoor Living handles outdoor kitchen design for homeowners throughout Colorado Springs, CO, and the surrounding Front Range communities.
Our team walks your property, settles the position, utility routing, appliance list and material selections on paper, then hands the build crew a plan they can follow.
Contact Hiner Outdoor Living to start your outdoor kitchen design and find out what your site will support.
In Summary
How long does the design phase take before construction begins?
The design phase for an outdoor kitchen in Colorado Springs normally runs several weeks, covering the site walk, layout drawings, appliance selections, utility routing and material choices. That timeline lengthens when a solid roof structure or a permit review is involved.
Can an outdoor kitchen be built in phases?
An outdoor kitchen can be built in phases by installing the patio and stubbing the gas, water and electrical sleeves first, then adding the kitchen later. Many Front Range projects follow that sequence. Planning the sleeves during the original design avoids cutting through finished paving later.
Does an outdoor kitchen need a permit in Colorado Springs, CO?
Gas lines, electrical circuits and any solid roof structure for an outdoor kitchen in Colorado Springs, CO, typically require permits and inspections. Hiner Outdoor Living confirms the requirements for your property during design so the approvals are in hand before the crew arrives.
How far ahead of the build season should we start the design conversation?
Most Colorado Springs homeowners are well served starting six to nine months ahead of the season they want to use the space. Selections, permit review and appliance lead times stack on top of the design weeks, and the Front Range build window narrows once the ground freezes, so a late start usually pushes a project into the following year.
About the Author
Matt Hiner founded Hiner Outdoor Oiving in 2008 with almost 10 years of experience in the landscape industry and the last $300 to his name. Nearly two decades and countless beautiful outdoor living spaces later, the rest is history.